Before you pick up a palette, you need to understand the geography of your eye. Every eyeshadow tutorial assumes you know what “the crease” or “the outer V” means, but most beginners are quietly confused about where those areas actually are. This guide maps out the five key zones of the eye and explains what each one does in an eyeshadow look.
The Five Zones of Eyeshadow Placement
Your eyelid area breaks down into five distinct zones. Each plays a different role in how your eye makeup looks:
1. The Mobile Lid
This is the flat, smooth part of your eyelid between your lash line and your crease. When you close your eyes, it’s the part that moves. When you open them, it’s the first thing people see.
What goes here: Your main lid shade. This is typically a shimmer, satin, or metallic finish, something that catches light and draws the eye. Think champagne, gold, rose, or whatever color you want to be the centerpiece of your look.
How to apply: Use a flat shader brush or your fingertip. Pat the color onto the lid in a pressing motion rather than swiping. Pressing saturates the color and keeps it even, while sweeping can push it off the lid and muddy your crease work.
2. The Crease
The crease is the natural fold where your eyelid meets the orbital bone above it. You can find it by gently pressing the area above your mobile lid. You’ll feel a ridge of bone. The soft depression just below that ridge is your crease.
What goes here: Your transition shade. This is typically a matte shade close to your skin tone, just a few shades deeper. It creates a natural shadow that adds depth and makes the eye look more defined. Think warm browns, taupes, or muted roses.
How to apply: Use a fluffy blending brush. Place the color directly in your crease and sweep it back and forth in small windshield-wiper motions. The goal is a diffused, gradient wash of color. No hard edges. This shade should disappear seamlessly into your skin tone above it.
Why it matters: The crease shade is what separates a one-dimensional “swipe of color” from a polished, sculpted eye. It creates the illusion of depth and gives your other shades something to sit against.
3. The Outer V
The outer V is the triangular area at the outer corner of your eye, shaped like a V lying on its side. To find it, feel the outer part of your eye where the orbital bone dips inward. The outer V sits right at that corner, with one arm of the V following your upper lash line and the other pointing up toward the crease.
What goes here: Your deepest, darkest shade. This is where drama lives. A matte dark brown, plum, charcoal, or black shade pressed into the outer V adds dimension, creates lift, and defines the outer edge of your eye.
How to apply: Use a small, dense pencil brush or a pointed crease brush. Press the color into the outer corner, then blend it upward into the crease and slightly inward. The key word is “upward” — if you blend downward, it drags the eye shape and creates a droopy look.
Why it matters: The outer V anchors your eyeshadow look and creates the contour that makes eyes appear more defined and lifted. It’s the area that adds the most dimension with the least amount of product.
4. The Brow Bone
The brow bone is the area directly beneath your eyebrow and above your crease. It’s the arch of bone you can feel when you press beneath your brow.
What goes here: A highlight shade. This is typically a very light matte or soft shimmer like ivory, pale champagne, or a shade close to your skin tone. It lifts the brow area and creates a visual “ceiling” for your eyeshadow look.
How to apply: Use a flat shading brush or a blending brush. Apply the highlight right under the arch of your brow and blend it downward so it meets your crease shade seamlessly. Don’t apply too much shimmer here. A heavy highlight on the brow bone can emphasize skin texture.
5. The Inner Corner
The inner corner (also called the tear duct area) is the small space at the inside corner of your eye, where your upper and lower lash lines meet.
What goes here: A bright, reflective shade. Light gold, champagne, or a pale shimmer brightens this area and makes your eyes look more awake and open. This is one of the smallest details in eyeshadow application, but it makes a noticeable difference.
How to apply: Dab a small amount of shimmer onto the very inner corner using your ring finger or a small flat brush. You can also extend it slightly along the first quarter of your lower lash line for extra brightness.
Putting It All Together: The Standard Map
Here’s how the five zones work together in a basic eyeshadow look:
- Transition shade in the crease and slightly above it (matte, medium tone)
- Lid shade on the mobile lid (shimmer or satin, your main color)
- Deepening shade in the outer V (matte, the darkest shade)
- Highlight on the brow bone (matte or soft shimmer, lightest shade)
- Brightener on the inner corner (shimmer or metallic, bright and reflective)
This five-shade system is the foundation of virtually every eyeshadow look. Even dramatic editorial looks follow this basic structure but they push the intensity and color further.
Order of Application Matters
The sequence you apply your shades in affects how clean the result looks:
Crease first. Starting with your transition shade establishes the shape of your eye. It’s easier to blend when there’s nothing else on the lid to worry about.
Outer V second. Building your deepest shade into the corner while the crease shade is still workable helps blend the two together seamlessly.
Lid third. Applying your main shade after the crease and outer V are set prevents the darker shades from contaminating your lid color.
Brow bone and inner corner last. These are your finishing highlights and brighteners. They clean up the edges and give the look its final polish.
Adapting Placement for Different Eye Shapes
The five zones work universally, but the size and position of each zone shifts depending on your anatomy:
Hooded eyes: Push your crease shade above the natural fold so it’s visible with eyes open. The outer V may need to extend higher and slightly outward.
Monolids: Work horizontally rather than vertically. Your gradient goes from inner to outer corner rather than lid to brow bone.
Round eyes: Concentrate deeper shades on the outer half of the eye to elongate the shape. Keep the inner corner bright.
Deep-set eyes: Use lighter, reflective shades on the lid to bring the eye forward. Avoid heavy dark shades in the crease, which can make the eyes recede further.
Close-set eyes: Keep darker shades on the outer half and lighter shades on the inner half to create the illusion of wider spacing.
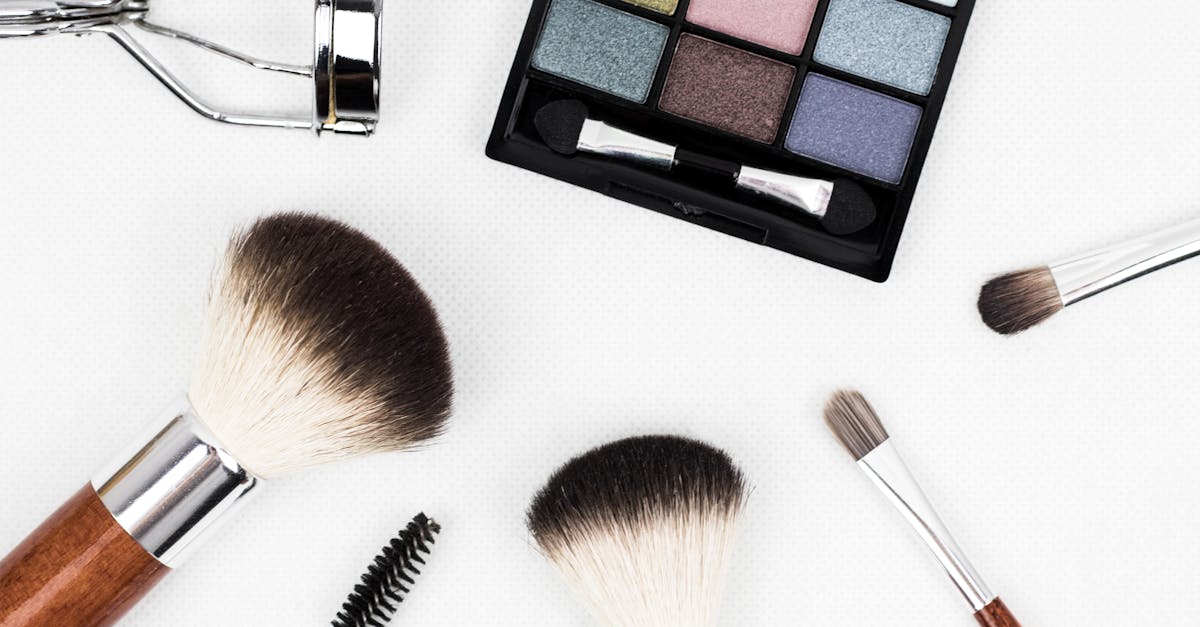
Essential Brushes for Proper Placement
You can’t rely on one brush for all five zones. At minimum, you need:
- Flat shader brush for packing color onto the lid
- Fluffy blending brush for the crease and transition
- Small pencil/detail brush for the outer V and lower lash line
- Small flat brush or fingertip for the inner corner highlight
Clean your brushes between shades (a quick swipe on a tissue or brush sponge works) to prevent muddy color transfer between zones.
Frequently Asked Questions
How many shades do I really need?
Three is the minimum for a polished look: transition, lid, and deepener. Five gives you the full map with highlight and brightener. Anything beyond five is about layering and intensifying.
My eyeshadow always looks muddy. What am I doing wrong?
Muddy shadow usually comes from blending too aggressively with too much product, or from not cleaning your brush between shades. Start with less product than you think you need and build gradually.
Does this placement work for every skin tone?
The zone structure works for everyone. The specific shades will differ based on your skin tone as the “few shades darker” and “lighter than skin” benchmarks are relative to your complexion.
Sources
- Sephora. (2025). “How to Apply Eyeshadow Like a Pro.” sephora.com.
- Brown, Bobbi. Bobbi Brown Makeup Manual. Grand Central, 2008 — eye shadow application zones and blending principles
- Bobbi Brown. (2024). Makeup Manual. Hachette Books.
Related Guides
- Smokey Eye Tutorial: Step-by-Step for Beginners
- Eyeshadow for Hooded Eyes: Placement Tips That Actually Work
- Monolid Eye Makeup: Techniques That Enhance Your Natural Shape
- Best Eyeshadow Colors for Blue & Green Eyes
- Eyeshadow for Glasses Wearers
- Eyeshadow for Mature Eyes
- Best Eyeshadow Colors for Hazel Eyes
- Best Eye Makeup Brushes for Beginners
Get weekly eye care & beauty tips
Expert-researched guides delivered to your inbox. No spam, ever.