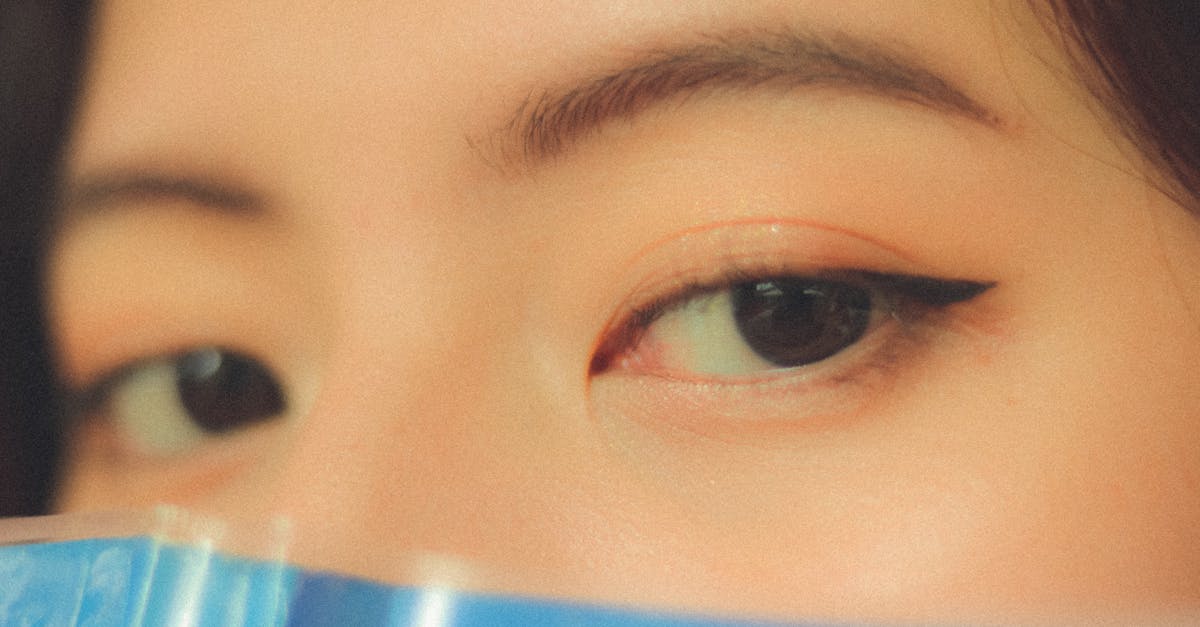
Standard eyeshadow tutorials assume a visible crease and a mobile lid you can see when looking straight ahead. If you have hooded eyes, that’s not your reality. Your crease disappears into a fold of skin, and the mobile lid shrinks or vanishes entirely when your eyes are open.
The result: you follow a tutorial perfectly, open your eyes, and everything you just blended is hidden. Your outer corner work gets eaten by the fold. Your gradient goes invisible.
This isn’t a flaw in your technique. It’s a mismatch between the tutorial and your anatomy. Here’s how to apply eyeshadow in a way that’s designed for hooded eyes from the start.
Before You Start: Understanding Your Hood
Not all hooded eyes are the same. The degree of hooding varies, and your approach should match your specific anatomy.
Partially hooded: You have some visible crease and a sliver of mobile lid when eyes are open. Standard techniques need minor adjustments, mainly placing your crease color slightly higher.
Fully hooded: The fold covers your crease entirely. No mobile lid is visible when looking straight ahead. You need to relocate your entire shadow placement above the natural fold.
Hooded on one side: Asymmetry is normal. One eye may be more hooded than the other. Adjust your placement independently for each eye rather than mirroring exactly.
Stand in front of a mirror and look straight ahead with relaxed eyes. Identify where your fold falls and how much lid remains visible. This is your baseline for every technique that follows.
Step 1: Prime from Lash Line to Brow Bone
Primer is non-negotiable for hooded eyes. The fold creates constant skin-on-skin contact that transfers and creases eyeshadow faster than other eye shapes. Even if you skip primer on normal days, hooded eyes need it every time.
Apply a thin layer of eyeshadow primer across the entire lid area, from lash line all the way up to the brow bone. Don’t stop at the crease, because your shadow placement will extend above it. Set with a light layer of translucent powder.
Wait 60 seconds before applying shadow. The primer needs to set into a tacky, dry-feeling base that grips pigment and resists transfer.
Step 2: Find Your “False Crease”
This is the most important step and the one that separates hooded-eye technique from standard application.
Close one eye. With a pencil brush or your finger, feel where your natural crease fold is. Now open your eye and look straight ahead. Notice how the fold swallows that crease.
Your “false crease” is the line just above where the fold ends when your eyes are open. This is where you’ll place your crease and transition shade so it remains visible. On most hooded eyes, this sits 2-5mm above the natural crease.
How to mark it: With your eyes open, take a matte shadow close to your skin tone on a small brush. Looking straight into the mirror, mark a small dot where you can see the shadow above your fold on the outer half of your eye. This dot marks the bottom edge of your transition zone.
Step 3: Apply Your Transition Shade (Eyes Open)
Start with a matte transition shade one to two shades warmer or deeper than your skin tone. Using a fluffy blending brush, apply this shade in windshield-wiper motions above the false crease you identified.
The key: do this with your eyes open, looking straight into the mirror. You need to see where the color actually falls on your visible eye area. Close your eye periodically to blend, but always check with eyes open.
Build the transition shade gradually. It should create a soft gradient from the false crease up toward the brow bone, with the deepest concentration of color along the false crease line.
This transition shade is the foundation of your entire look. On hooded eyes, it does the heavy lifting because it’s the most visible part of your eye makeup.
Step 4: Define the Outer Corner
The outer corner is where hooded eyes lose definition fastest because the fold pushes shadow downward and inward. To counter this:
Take a slightly deeper matte shade on a pencil brush. With your eyes open, place the color at the outer corner of your eye, right where the fold ends. Build a small V-shape or windshield-wiper wedge that extends slightly upward and outward.
The angle matters. On hooded eyes, keep the outer corner shadow angling upward toward the tail of your eyebrow, not extending straight out or downward. A downward angle makes hooded eyes look droopy. An upward angle creates lift.
Close your eye to blend the edges, then open to check. The defined outer corner should still be visible with eyes open. If it’s hidden, extend the color a few millimeters higher until it peeks above the fold.
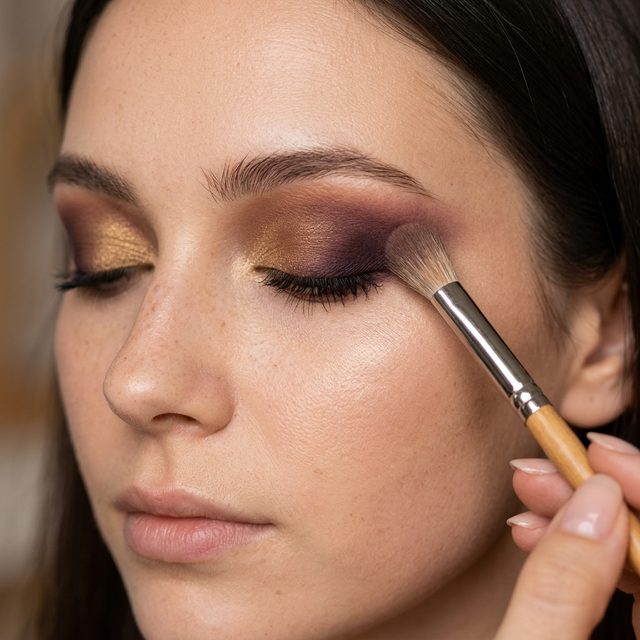
Step 5: Apply Lid Color
Now close your eye and apply your main lid color to the mobile lid (the area between your lash line and natural crease). This is where shimmer or satin finishes work best. A light-reflecting shade on the mobile lid catches light and makes the lid space appear larger.
On hooded eyes, the mobile lid is small, so keep this application precise. Use a flat shader brush or your fingertip to press shimmer shadow onto the center of the lid. Don’t blend it aggressively, just pat it into place.
Good shimmer options for hooded lids:
- Urban Decay Naked3 Palette (~$54): Rose-gold shimmers that brighten a small lid space
- NYX Ultimate Shadow Palette (~$18): Warm metallic shades in the second row work well
- Maybelline The Nudes Palette (~$11): Budget-friendly lid shimmers
The shimmer on your mobile lid, even if it’s partially hidden, catches light every time you blink. That flash of sparkle gives the impression of a larger, more open eye.
Step 6: Inner Corner and Brow Bone
A light shimmer or matte highlight in the inner corner opens up hooded eyes. Place a small amount of champagne or pale gold shimmer right at the inner corner of each eye, both on the lid and slightly onto the bridge of the nose.
For the brow bone, use a matte shade slightly lighter than your skin tone. Apply it just beneath the highest arch of your brow, blending downward into your transition shade. This creates a visual boundary that lifts the brow area and defines where your eye look ends.
Don’t use glittery or heavily shimmery highlights on the brow bone with hooded eyes. Sparkle in that area draws attention to the fold and the skin above it, which is the opposite of what you want. Matte or very subtle satin finishes work best.
Step 7: Liner Strategy
Eyeliner on hooded eyes needs its own approach. A standard wing disappears into the fold, and thick liner eats up the small amount of visible lid space.
For thin liner: Keep it tight to the lash line. A thin line that stays close to the lashes defines the eye without taking up lid real estate. Use a waterproof pencil or gel liner that won’t transfer to the fold.
For winged liner: Draw the wing with your eyes open. Place the outer flick where you can see it above the fold, which may feel higher than seems natural. Connect the wing tip down to your lash line with eyes closed, then reopen to check. The wing should follow the upward angle from Step 4.
Tightlining: This technique works well for hooded eyes. Line the upper waterline (the inner rim of your upper lashes) with a dark pencil. It adds definition and makes lashes look thicker without occupying any lid space at all.
Step 8: Lower Lash Line
Smudging a bit of your transition or crease shade along the lower lash line ties the whole look together and draws attention downward, balancing the eye shape.
Use a small smudge brush and apply color to the outer two-thirds of the lower lash line. Blend the inner edge so there’s no hard line. On hooded eyes, this subtle lower lash definition is often more impactful than upper lid work because it’s always fully visible.
Common Hooded Eye Mistakes
Blending too high. There’s a sweet spot between “above the fold” and “touching your eyebrows.” Your transition shade should be visible with eyes open but shouldn’t climb more than a centimeter above the fold on most faces. Over-blending creates a muddy smear that looks messy.
Using too much shimmer. Shimmer emphasizes texture and volume. On hooded lids, shimmer on the fold area or above the crease makes the hooded skin look puffier. Keep shimmer on the mobile lid and inner corner only.
Copying non-hooded tutorials exactly. Even after reading this guide, you may watch a YouTube tutorial and try to replicate a look designed for non-hooded eyes. Save yourself the frustration: adapt every tutorial by mentally shifting the crease placement up and the outer corner angle up.
Skipping the open-eye check. I can’t emphasize this enough. After every step, open your eyes and look in the mirror. If the color isn’t visible, it doesn’t exist in your final look. Adjust up until it is.
Looks That Suit Hooded Eyes
Not every eye look translates equally to hooded lids. Here’s what works best:
Best: Halo eye (shimmer center lid, deeper corners), vertical gradient (light to dark from inner to outer corner), smoky eye with diffused edges, single shimmer wash
Works with adjustment: Cut crease (place cut line above the fold), graphic liner (draw with eyes open), two-tone gradient
Most challenging: Heavy glitter looks (transfer issues), very precise multi-color placements (fold distorts lines), thick dramatic liner (eats visible lid space)
Focus on looks that emphasize blending techniques and soft edges. Hooded eyes naturally soften hard lines because the fold blurs edges with every blink. Work with that rather than against it.
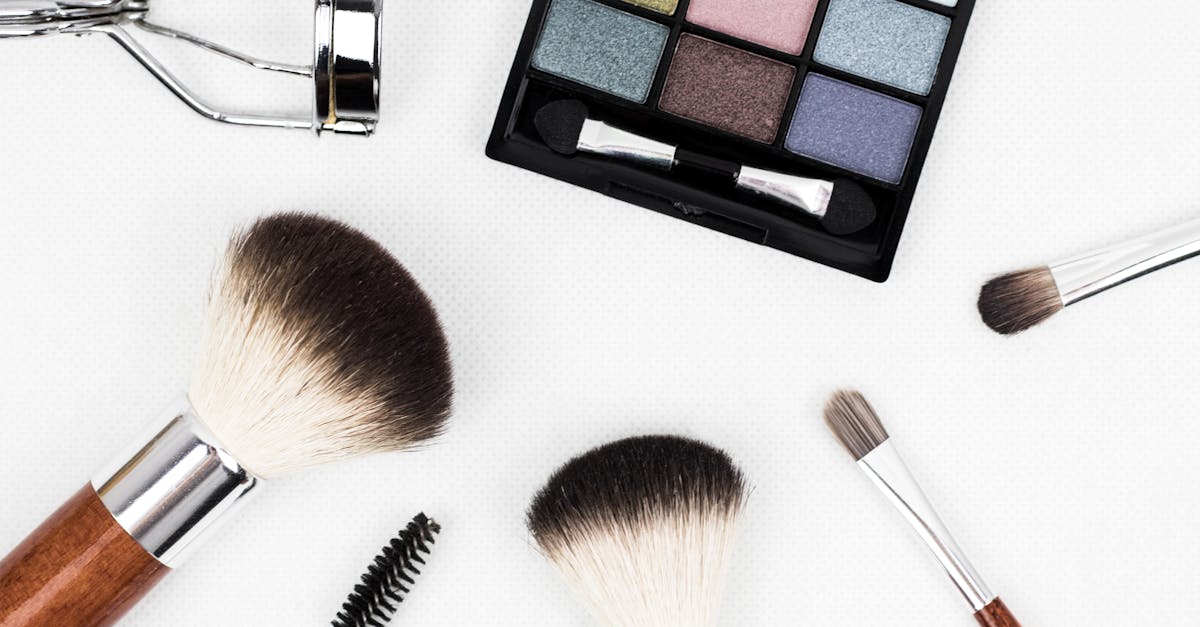
Tools That Help
- Small pencil brushes: Precision is critical when you’re working in limited space. A pencil brush places color exactly where you need it in the outer corner.
- Flat shader brushes: Press shimmer onto the small mobile lid area without spreading it where you don’t want it.
- Fluffy crease brushes: For the transition shade. You want something soft enough to diffuse color above the fold without harsh edges.
- A good mirror: A magnifying mirror on a stand, positioned at eye level, lets you work with both hands free and see your placement clearly.
Sources
- Wayne Goss, “Hooded Eye Makeup Masterclass,” YouTube (2025)
- Milady’s Standard Cosmetology (2024), Chapter 21: Eye Shape Assessment
- Robert Welsh, “Common Hooded Eye Mistakes,” YouTube (2025)
Related Guides
Get weekly eye care & beauty tips
Expert-researched guides delivered to your inbox. No spam, ever.
Frequently Asked Questions
Where do you put eyeshadow on hooded eyes?
Place your transition shade above where your natural crease sits, so the color remains visible when your eyes are open. The key is looking straight into a mirror with eyes open and marking where the hood fold ends. Apply your crease color just above that line, extending slightly beyond the outer corner.
Should you apply eyeshadow with eyes open or closed for hooded eyes?
Both. Apply product with your eyes closed so you can see the lid surface, but check your placement with eyes open between each step. The open-eye check is critical because hooded lids hide most of your work. What looks perfect with eyes closed may be completely invisible when you look straight ahead.
What eyeshadow finish is best for hooded eyes?
Matte shadows work best for the crease and transition on hooded eyes because they create depth without reflecting light in a way that emphasizes the fold. Use shimmer or satin finishes only on the center of the mobile lid and the inner corner, where light reflection opens up the eye.
Does eyeshadow primer help with hooded eyes?
Primer is essential for hooded eyes. The skin-on-skin contact where the fold meets the lid creates friction and warmth that breaks down eyeshadow faster than on other eye shapes. A good mattifying primer prevents transfer, creasing, and fading in the fold area.
Can you do a cut crease on hooded eyes?
Yes, but the technique needs modification. Instead of cutting the crease at your natural fold, cut it higher so the sharp line remains visible when your eyes are open. Use concealer on a flat brush to carve out the lid space, and build the look with eyes open to control placement.