An eyeshadow stick is the fastest eye look that exists: swipe, smudge the edge with a fingertip, done. That speed is why the category keeps growing — and why the disappointment pattern is so consistent. The stick that looked effortless on a brand’s model turns into a creased stripe by noon on a lid that folds, or sets before it is blended.
This guide is the honest comparison: what sticks actually do better than powder palettes, where they genuinely lose, and how to buy for your lid type if speed is the priority. The Eyeshadow Looks Beauty Desk writes from manufacturer formula notes and published reviews — desk research, not a wear-test fleet. For straight product rankings, the best eyeshadow sticks price-band guide and the sticks for hooded eyes ranking stay the buying pages. This page is the decision layer above them.
What a stick does better than a palette
Speed, by a wide margin. One tool, no brushes, no fallout on the cheek, application in under a minute. Published comparisons consistently frame sticks as the commuter-makeup format, and that framing is accurate.
Low-skill base application. The crayon shape puts color roughly where you point it. A beginner gets a wearable wash of color on the first try more often with a stick than with a fluffy brush and a loose powder.
Portability. No brush roll, no mirror-flat surface needed, no powder dust in a bag. A stick plus a fingertip is a complete kit that fits in a pocket.
Lid grip on mature skin. Cream formulas sit on drier lids without emphasizing texture the way frosted powders can — the reason sticks show up constantly in mature-eye routines. The eyeshadow for older eyes guide covers that tradeoff in depth.
Where palettes still win
Blending control. Powder builds in thin layers and forgives over-application. Cream sticks deposit most of their pigment in the first swipe — correction means smudging everything and starting over.
Multi-shade structure. Cut creases, halo eyes, layered transition work: powder-on-powder layers predictably, while cream-on-cream tends to mush together. If your target looks are structural, start with the beginner palette ranking instead.
Shade economy. A palette carries eight to sixteen coordinated shades for one price. Matching that range in sticks means buying four to six of them. The price-band math is laid out in the main sticks guide.
Longevity on oily and hooded lids. Powders set drier from the start. Creams need help to survive a folding lid — which is the next section, because it is the biggest real-world failure mode.
The crease problem on hooded lids
A hooded lid is not an oily-lid problem; it is a mechanics problem. The fold of skin physically presses into the shadow every time you blink, and a soft cream stick is exactly the kind of formula that transfers into that contact point. By afternoon, the lid shade has migrated into the fold leaving a dark stripe where color used to be.
What published formula notes and user reports say actually helps:
- Drier, set-fast formulas over creamy emollient ones. The tradeoff is a shorter blending window — which is the same property that makes the color stay put.
- Thin layers. One pass, blended fast, beats two thick passes every time on this lid type.
- Primer underneath. Not optional on hoods. A gripping base gives the cream something to anchor to; the oily-lid primer guide covers which bases hold.
- Placement above the fold. Same rule as powder: with the eye open, keep the deepest color at the outer third, above the hood line, not buried in the crease.
The sticks that handle this best are already sorted in the hooded-eyes sticks ranking — this page only needs you to know the failure mode exists before you buy.
The blending window, formula by formula
The window is the seconds you have between “applied” and “locked.” Rough bands from manufacturer usage notes and published reviews:
| Formula feel | Window | Tradeoff |
|---|---|---|
| Creamy, emollient | 45–60+ seconds | Easiest blending, highest crease risk on hoods, transfers on oily lids |
| Classic cream-to-powder | 20–45 seconds | The balanced middle; most “cult” sticks live here |
| Quick-set, drier | 10–20 seconds | Crease-resistant, but mistakes need makeup remover |
The habit that makes any window workable: one eye at a time. Apply and finish blending the first eye completely before touching the second. Users who report “impossible to blend” are usually fighting a formula that set while they were working on the other eye. The cream vs powder vs liquid formula comparison covers the same physics across all three formats.
A fingertip is the standard blending tool and mostly the right one — warm, smooth, and always on hand. Two upgrades worth knowing: a small synthetic brush stretches a short window (it moves color faster than a finger pad), and a flat concealer brush cleans up the outer edge after the formula sets, dragging a crisp line instead of a smudge. Neither is required to start; both are cheap fixes for the two most common complaints.
Application routine, start to finish
The weekday two-stick routine most user reports and brand tutorials converge on:
- Prime or prep. On hooded or oily lids, primer. On normal lids, a fingertip of setting powder or nothing.
- Base stick, lid only. Swipe the light shade across the mobile lid from inner to outer corner. On a hood, keep it on the visible strip — do not chase the crease.
- Smudge immediately. Pat the edges out with a ring fingertip before the formula sets. Pat, do not rub; rubbing thins the color into the fold.
- Define the outer third. Short strokes of the deep stick at the outer corner, then smudge upward and inward with the same finger.
- Optional lower lash line. The remainder on the fingertip from step 4 is exactly enough for a soft lower-line smudge — the zero-waste move that makes the two-stick kit feel complete.
- Set on oily or hooded lids. A whisper of translucent powder through a small brush, or a clean fingertip dusted and pressed, locks the base shade against the fold.
Steps 2 through 5 take about ninety seconds once practiced. That is the whole promise of the format, and it is a real one.
What a stick is not: a precision liner. The blunt crayon tip cannot draw a wing — dragging it along the lash line for “liner” gives a soft smudged band, which is a look, but not liner. Pair a stick with an actual eyeliner when you want crisp definition; the types are compared in the best eyeliners guide.
Shade range and what it costs
Beauty Desk listing check: shade counts and price bands below come from current Amazon listings and brand sites, compared for this guide — not a swatch test. Offerings shift; verify the shade you want is still in the lineup before building a routine around it.
Drugstore band (roughly $5–$12): the widest shade menus per dollar — neutrals, bronzes, and a few plums, mostly in the creamier emollient class. Good for trying the format cheaply; expect shorter wear and more transfer on hooded lids. A search like cream eyeshadow stick shows the current field.
Mid band (roughly $12–$25): where the cult formulas sit — cream-to-powder finishes, better-set matte neutrals, and the first genuinely crease-resistant options. If you are buying your first stick for daily wear, this is the band that balances price against formula behavior.
Prestige (roughly $25 and up): refined textures and curated neutral ranges, but the shade count per dollar drops sharply. Worth it for a specific texture you love; unnecessary as an entry point.
Two sticks — one light base, one deep definer — cover most weekday looks in any band. That two-stick starter is the honest recommendation this desk gives most often, and it costs less than most mid-tier palettes. The full price-band rankings, product by product, live in the sticks buying guide.
Who should buy what
- Total beginner, owns nothing: one mid-band neutral stick plus the beginner palette ranking when ready to layer. The stick teaches zero-tool looks; the palette teaches structure.
- Commuter or parent, minutes only: two sticks (base + definer) and a primer. Skip palettes until time exists to use them.
- Hooded or oily lids: quick-set formulas only, primer always, and check the hooded-eyes ranking before any purchase.
- Structural-look lovers: palette first, one stick as a base-layer shortcut. Creams under powder is a legitimate hybrid — the stick does the fast base, powder does the architecture.
Skip-buy signals
The honest inverse of a buying guide — when this desk would tell you not to buy a stick at all:
- You already crease in cream formulas and refuse primer. The stick will crease. Fix the primer habit first or stay in powders; no purchase solves a technique gap.
- You want one product to do cut creases, halo eyes, and layered transitions. That product is a palette plus brushes. A stick bought for structure it cannot deliver becomes drawer clutter by month two.
- The shade you love exists only in a quick-set formula and you are still learning. Fast-setting sticks punish beginners — the mistake dries before you notice it. Learn on a creamier or powder formula, then come back.
- You are buying a third or fourth “perfect neutral.” Two sticks cover the weekday use case. The third neutral stick is a collection decision, not a makeup one — buy it as a treat, not as gear.
What this guide will not claim
No stick is “crease-proof” — a claim that shows up on listings and fails on real folding lids; the honest framing is crease-resistant with primer and thin layers. Longevity claims here come from published reviews and manufacturer notes, not from this desk wearing them, and the same honesty applies to every page on this site. If a review elsewhere promises 12 flawless hours on a hooded lid with no primer, that review was not written about hooded lids.
Get weekly eye care & beauty tips
Guides from the Eyeshadow Looks Beauty Desk. No spam, ever.
Frequently Asked Questions
Are eyeshadow sticks good for beginners?
For speed, yes — a stick does base shade, blending edge, and application tool in one, with no brush kit required. For learning, they can hold you back: a stick applies color faster than you can correct it, while a powder palette with brushes teaches placement control. Many people own both and reach for the stick on commutes and the palette on days off.
Do eyeshadow sticks crease on hooded eyes?
The creamier ones often do. A hooded lid folds over the crease and presses into the shadow all day, and soft cream sticks can transfer into that fold. Drier, set-fast formulas and a thin primer layer reduce it; the sticks that hold best on hooded lids are ranked separately in our hooded-eyes stick guide.
How long is the blending window on an eyeshadow stick?
Typically 15 to 60 seconds for the first pass, depending on formula. Creamier emollient sticks stay movable longer but crease more; quick-set formulas lock in fast and are harder to fix once dry. The practical habit is one eye at a time — finish blending the first eye before starting the second.
Can eyeshadow sticks replace a palette?
For one-and-two-shade looks, largely yes — a base shade plus a deeper stick covers most weekday wear. For multi-shade structure like cut creases or halo eyes, palettes still win because powder builds and layers more predictably than cream-on-cream. Sticks complement a palette more than they replace one.
Related Articles
 products
Best Eyeshadow Sticks: The Beauty Desk's Formula-and-Price-Band Guide
Read Guide arrow_right_alt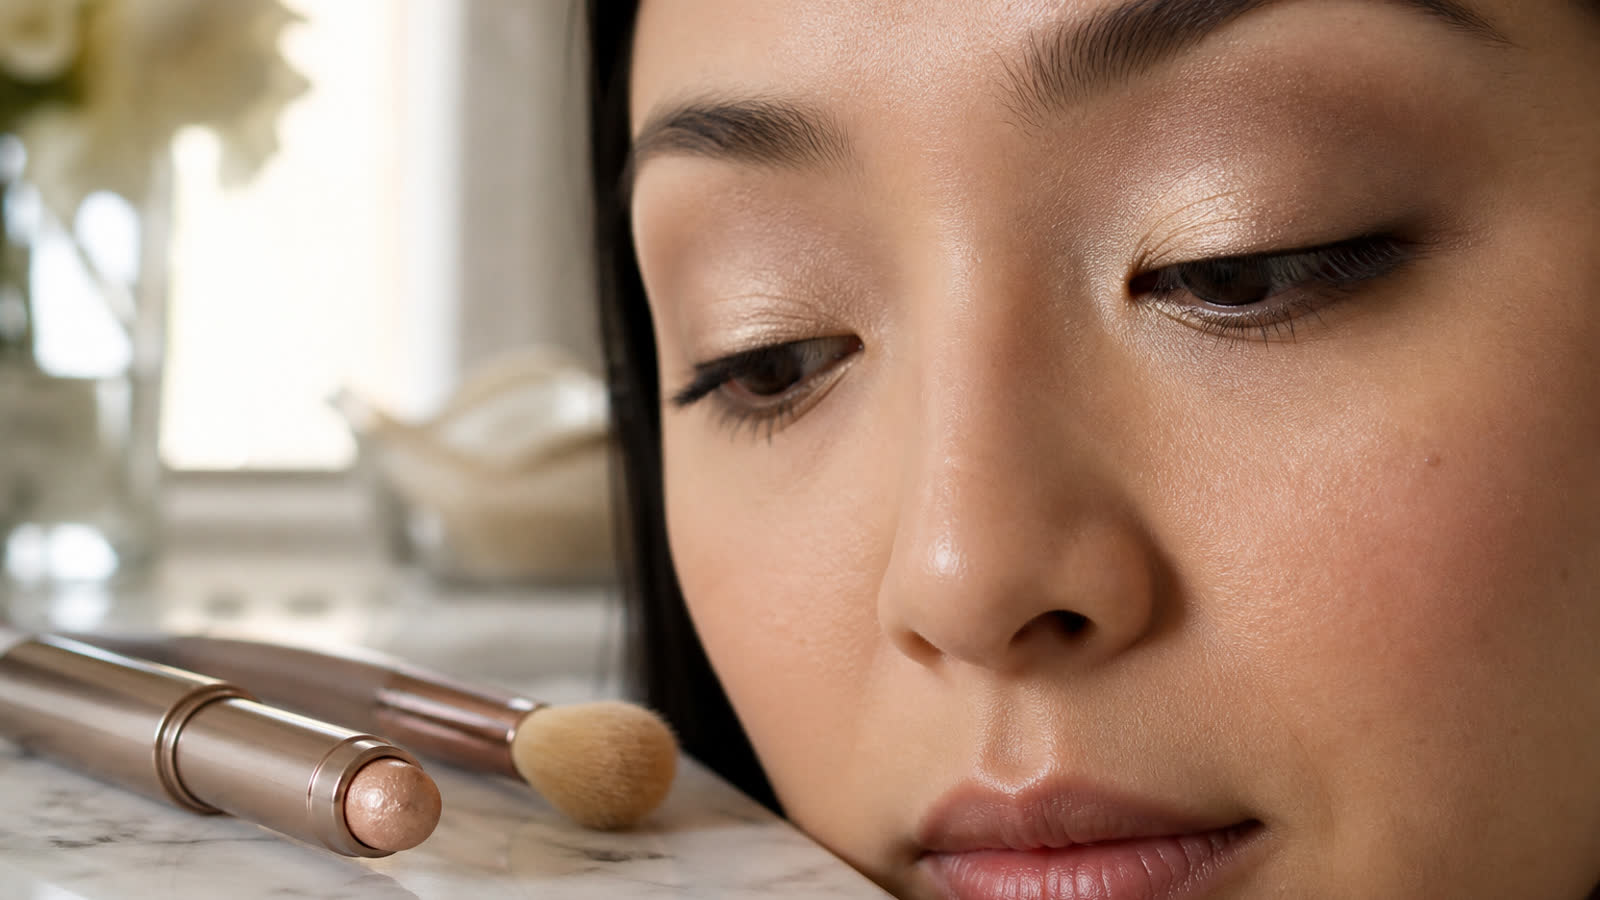 products
Best Eyeshadow Sticks for Hooded Eyes: Crease-Resistant Picks That Stay Visible
Read Guide arrow_right_alt products
Best Eyeshadow Palette for Beginners: 8 Palettes That Make Learning Easy
Read Guide arrow_right_alt tutorials