The distance between a YouTube eyeshadow tutorial and what you see in your mirror usually isn’t about the palette. It’s about the brushes. Using a crease brush to pack on lid color gives you sheer, diffused coverage when you wanted opaque impact. Using a flat shader brush to blend gives you harsh stripes instead of seamless gradients. Each brush shape exists to solve a specific application problem, and knowing which one to reach for at each step transforms results.
This guide covers every eye brush type you’ll encounter, maps it to its exact purpose, and tells you which ones are essential versus which ones are nice-to-have duplicates.
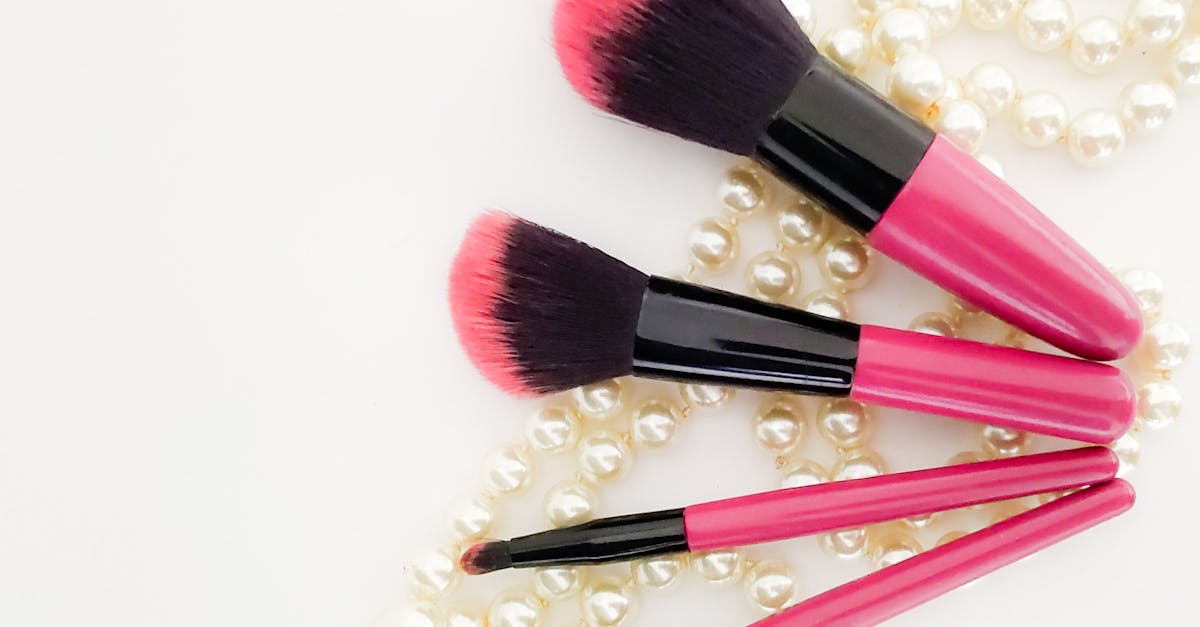
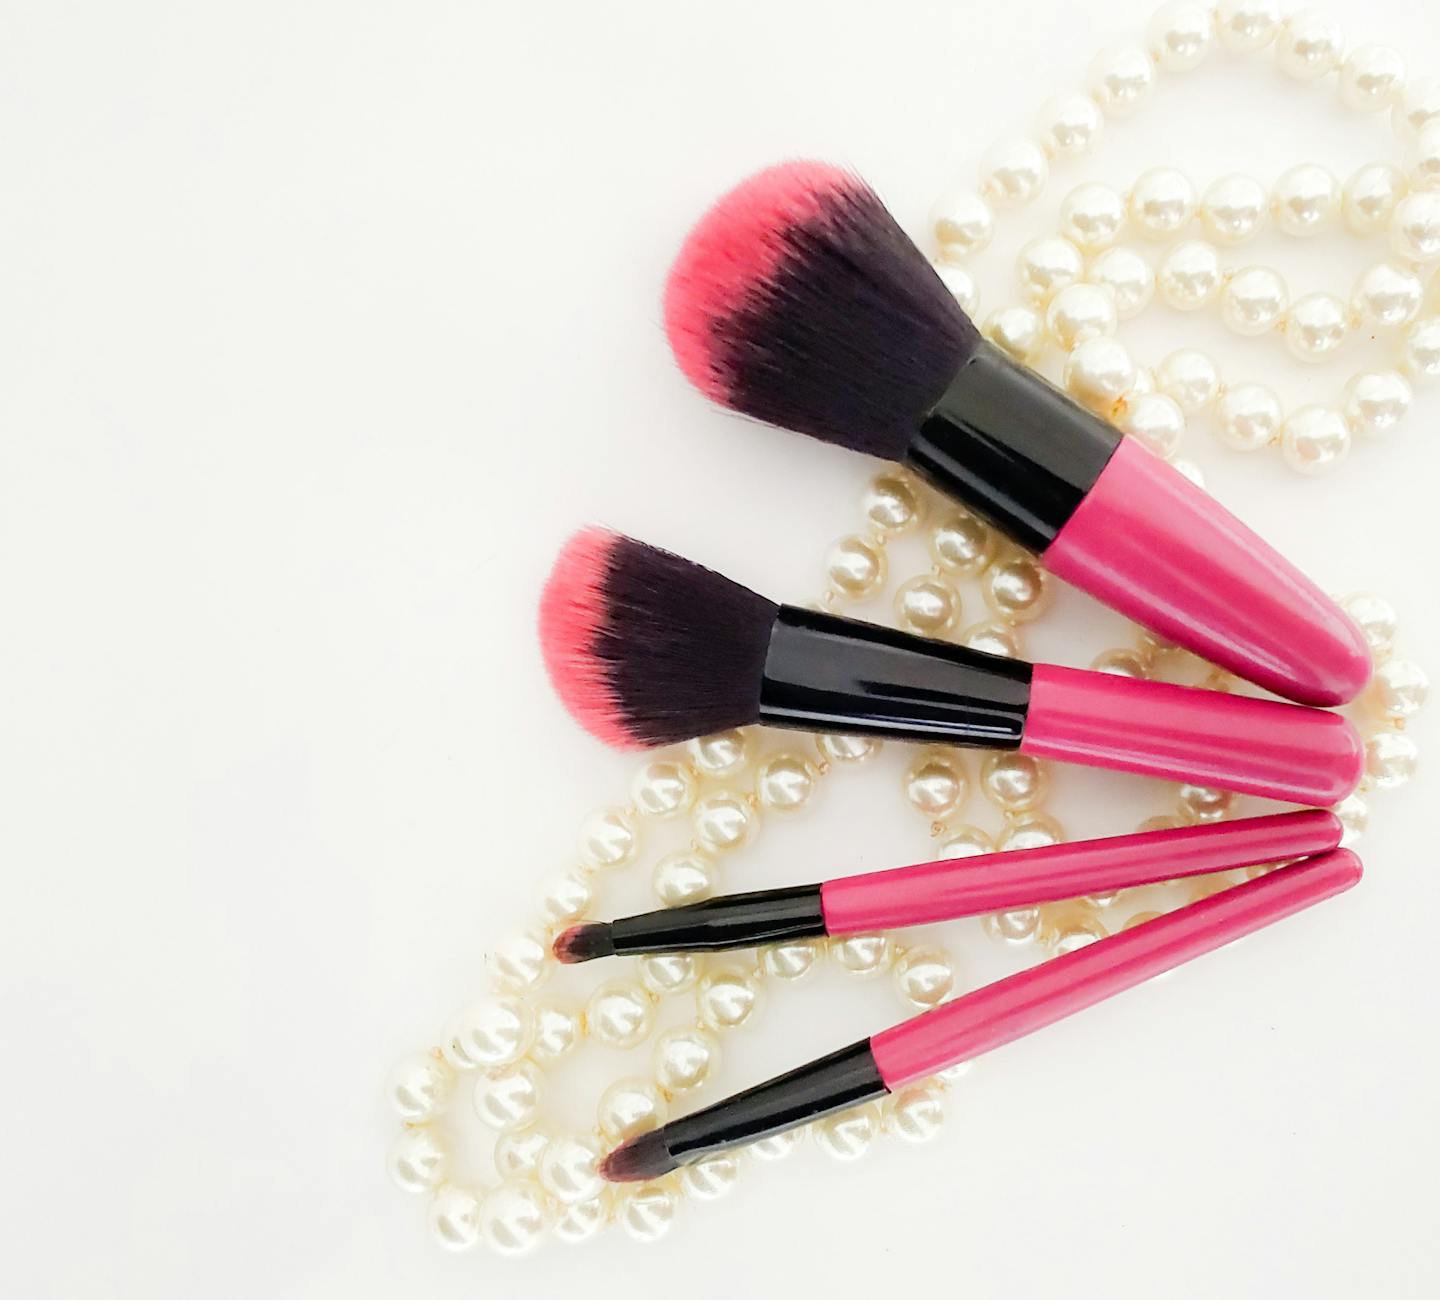
The 4 Essential Brushes (You Need These)
1. Flat Shader Brush — For Packing Color on the Lid
What it looks like: Flat, paddle-shaped, with short, densely packed bristles. About the width of your eyelid.
What it does: Deposits maximum color in a single motion. The flat shape presses pigment directly onto the skin rather than dispersing it, giving you opaque coverage where you want the most visible color — typically the center of the mobile lid.
How to use it: Press the flat side of the brush into your eyeshadow pan, then press it flat against your lid. Pat, pat, pat — each press deposits color. Do not swipe or stroke sideways, which spreads the pigment thin.
When to reach for it:
- Applying shimmer, metallic, or foiled shadow to the lid
- Packing a matte shade for full opacity (like a bright color)
- Applying any pressed glitter
- Applying cream-to-powder eyeshadow
Recommended options:
- MAC 239 Eye Shader (~$28) — the industry standard
- Sigma E55 Eye Shading (~$17) — excellent budget alternative
- Real Techniques Shader Brush (~$6) — perfectly functional for the price
2. Fluffy Blending Brush — For Crease Work and Transitions
What it looks like: Round, tapered to a soft point, with long, loosely packed bristles. Noticeably larger than a pencil brush but smaller than a powder brush.
What it does: Picks up small amounts of product and deposits it in diffused, sheer layers. The loose bristle arrangement means each stroke covers a wide area with soft, transparent coverage — exactly what you want for blending two colors into each other.
How to use it: Load the brush lightly (tap off excess), then use windshield-wiper motions in the crease — back and forth, back and forth. For blending, use small circular motions at the edge where two colors meet to soften the transition.
When to reach for it:
- Applying transition shade in the crease
- Blending the edges between two shadow shades
- Diffusing any shadow that looks too harsh or concentrated
- Cleaning up edges by blending outward with a clean brush
The most common mistake: Using this brush to apply lid color. A fluffy blending brush deposits too little product and spreads it too thin for visible lid coverage. It’s designed for sheer, diffused work — not opaque application.
Recommended options:
- Sigma E35 Tapered Blending (~$17) — universally loved, precise enough for hooded eyes
- MAC 217 Blending (~$28) — the classic, slightly smaller than most
- Real Techniques Deluxe Crease (~$6) — good size and softness for the price
- BH Cosmetics Blending Brush (~$4) — surprisingly effective budget pick
3. Pencil Brush — For Precision and Detail Work
What it looks like: Slim, short, densely packed to a precise point. Roughly the width of a pencil tip (hence the name).
What it does: Deposits color in a concentrated, precise area. The narrow shape lets you place shadow exactly where you want it without affecting surrounding areas.
How to use it:
- Press into the outer V of the eye and smudge with tiny circular motions
- Run along the lower lash line for a thin, controlled line of shadow
- Apply a dark shade close to the upper lash line for a smudged liner effect
- Add detail to the inner corner
When to reach for it:
- Any time you need shadow in a small, specific area
- Deepening the outer corner or outer V
- Applying shadow to the lower lash line
- Smudging pencil or gel eyeliner for a smokey effect
- Placing color precisely on hooded eyes where space is limited
Recommended options:
- MAC 219 Pencil (~$28) — precise and firm
- Sigma E30 Pencil (~$14) — good balance of firmness and flexibility
- Real Techniques Pixel Point Eyeliner (~$6) — works well for lower lash line
4. Small Angled Brush — For Lash Line and Brow Definition
What it looks like: Flat with bristles cut at a diagonal angle. Small enough to create thin lines.
What it does: Creates thin, precise lines of shadow. The angled edge lets you follow the natural curve of your lash line and eyebrow arch.
How to use it:
- Press into dark shadow and draw a line along the upper lash line (shadow liner)
- Apply brow powder along the brow arch
- Define the outer corner with a precise edge
When to reach for it:
- Using eyeshadow as eyeliner
- Filling in eyebrows with powder
- Creating a precise wing using dark shadow
- Any time you need a thin, controlled line
Recommended options:
- Anastasia Beverly Hills #12 Angled Brush (~$18) — the brow standard, works for liner too
- MAC 266 Small Angle (~$23) — firm and precise
- e.l.f. Small Angled Brush (~$2) — remarkably good for the price
The 3 Nice-to-Have Brushes (Level Up Your Kit)
5. Crease Brush — A Firmer, More Defined Blending Brush
What it looks like: Similar to a blending brush but smaller, denser, and slightly stiffer. The bristles are shorter and more tightly packed.
How it differs from the fluffy blending brush: A crease brush deposits more product more precisely. While a fluffy blending brush diffuses and softens, a crease brush places color in a more defined, concentrated line within the crease. Use it to deepen the crease color after your blending brush has placed the initial transition.
When you need it: When you want visible definition in your crease rather than a soft wash. The crease brush creates the “cut” of color that separates the lid from the brow bone area.
6. Smudge Brush — For Soft Lower Lash Line Work
What it looks like: Short, round, and very dense. Like a stubby pencil brush with denser bristles.
How it differs from the pencil brush: A smudge brush has denser, softer bristles that diffuse color rather than depositing it precisely. It creates a softer, smokier line on the lower lash line compared to the more defined line a pencil brush creates.
When you need it: For smokey eyes and soft, smudged lower lash line work. If your pencil brush application looks too harsh on the lower lash line, a smudge brush softens it into a gradual fade.
7. Clean Blending Brush — A Dedicated “Clean” Brush
This isn’t a different brush shape — it’s a duplicate of your fluffy blending brush that stays clean. Keep one blending brush loaded with product and one clean. Use the clean brush to blend edges and soften transitions after color placement. Having a dedicated clean blending brush means you’re blending with just the motion, not adding more pigment, which prevents muddiness.
Which Brush for Each Step of an Eye Look
Here’s a practical decision map for a standard multi-shade eye look:
| Step | Action | Brush to Use |
|---|---|---|
| 1 | Set primer with base shade | Fluffy blending brush |
| 2 | Apply transition shade in crease | Fluffy blending brush |
| 3 | Deepen the crease | Crease brush (or firm blending brush) |
| 4 | Define outer V / outer corner | Pencil brush |
| 5 | Pack color on the lid | Flat shader brush (or fingertip for shimmer) |
| 6 | Apply lower lash line shadow | Pencil brush or smudge brush |
| 7 | Blend all edges | Clean fluffy blending brush |
| 8 | Highlight inner corner | Pencil brush or fingertip |
| 9 | Shadow liner on lash line | Small angled brush |
Brush Care Basics
A clean brush performs better than a dirty one — it picks up more product, deposits it more evenly, and blends without muddying colors.
Quick Clean (Between Colors During Application)
Swirl the brush on a dry paper towel or microfiber cloth until no color transfers. For a faster clean, use a brush cleaner spray like Cinema Secrets or Isopropyl alcohol on a towel. This takes 5 seconds and prevents shade contamination.
Deep Clean (Weekly)
- Wet the bristles with lukewarm water (keep water below the ferrule — the metal part — to prevent loosening the glue)
- Swirl bristles in gentle brush cleanser or baby shampoo in your palm
- Rinse under running water until the water runs clear
- Squeeze out excess water with a clean towel
- Reshape the bristles and lay flat to dry (hanging upside down is ideal if you have a drying rack)
Never dry brushes standing upright — water runs into the ferrule and loosens the glue holding the bristles.
The Investment Question: Expensive vs. Budget Brushes
For eye brushes specifically, the mid-range ($14-20 per brush) represents the best value. Budget brushes ($2-6) work fine but may shed bristles, lose shape faster, and feel scratchy on sensitive lid skin. Luxury brushes ($30+) are beautiful tools with marginal performance improvement over mid-range options.
If you’re buying one brush at a time, prioritize in this order:
- Fluffy blending brush — this is the brush you’ll use most, and quality directly impacts blending results
- Flat shader brush — affects color payoff significantly
- Pencil brush — precision matters here, but budget options are usually adequate
- Angled brush — budget options work nearly as well as premium for this brush type
Get weekly eye care & beauty tips
Expert-researched guides delivered to your inbox. No spam, ever.
Frequently Asked Questions
How many eye brushes do I actually need?
Four is the practical minimum: a flat shader brush (for packing color on the lid), a fluffy blending brush (for the crease and transition), a pencil brush (for precise outer corner and lower lash line work), and a small angled brush (for eyebrow and lash line detail). With these four, you can create any eyeshadow look from a simple wash of color to a complex multi-shade eye.
What is the difference between natural and synthetic brushes for eyeshadow?
Natural hair brushes (squirrel, goat, pony) pick up and deposit powder shadow gradually, which is ideal for blending and building color slowly. Synthetic brushes are firmer and smoother, making them better for pressing on shimmer and cream shadows. For a minimal kit, use natural for your blending brush and synthetic for your flat shader — this gives you the best of both for the two most common actions.
Why does my eyeshadow look patchy even with good quality shadow?
The most likely culprit is using a fluffy blending brush to apply color. Fluffy brushes are designed to diffuse and blend — they spread product over a wide area in a sheer, transparent layer. To get visible color payoff, use a flat shader brush or dense packing brush to deposit the initial layer of color, then switch to a fluffy blending brush to soften edges.
How often should I clean my eyeshadow brushes?
For optimal performance: deep clean with brush cleanser every 1-2 weeks, and do a quick spot-clean between colors during application using a brush cleaner spray or by wiping on a dry towel. Dirty brushes produce muddy colors because old pigment residue mixes with new shades. They can also harbor bacteria that causes eye irritation. A clean brush blends better, picks up more product, and deposits color more evenly.
Can I use my fingers instead of brushes for eyeshadow?
Fingers work exceptionally well for two specific tasks: pressing shimmer and metallic shadows onto the lid (the warmth melts the product for better adhesion) and blending cream eyeshadow. Fingers do not work well for precision tasks like crease placement, outer corner definition, or lower lash line application. A hybrid approach — brushes for mattes and precision work, fingers for shimmers — is what many professional artists actually use.