Most eyeshadow tutorials on social media involve 6+ shades, 20 minutes of blending, and a result that looks editorial rather than everyday. That’s great for special occasions, but it’s not what most people want at 7 AM on a Tuesday.
A natural everyday eye look should do three things: make your eyes look more awake and defined, survive until evening without creasing, and take less than five minutes. That’s it. No dramatic transitions, no complex color stories, no Instagram-only techniques.
This step-by-step method uses three shades maximum and gets you out the door looking polished in under five minutes.
What You Need
- Eyeshadow primer (any formula — even a dab of concealer works in a pinch)
- 3 eyeshadow shades:
- A matte base shade close to your skin tone (ivory, buff, light peach, or warm beige depending on your complexion)
- A matte transition shade 2-3 shades deeper (soft brown, warm taupe, muted mauve)
- A satin or shimmer lid shade (champagne, soft gold, rose gold, or bronze)
- 2 brushes: A fluffy blending brush and a flat shader brush (or your fingertip for shimmer)
That’s the full kit. No pencil brushes, no cut crease concealers, no twelve-shade palettes. Simplicity is the point.
Step 1: Prime and Set (30 Seconds)
Sweep a thin layer of eyeshadow primer from lash line to brow bone using your fingertip. Wait about 30 seconds — just long enough to start on the rest of your face or pour coffee — then dust your matte base shade over the entire lid with a fluffy brush. This sets the primer and creates an even canvas.
Why this matters: The base shade isn’t about adding visible color. It’s about giving your transition shade something to blend into. Without it, your transition shade meets bare skin and creates a hard edge that takes more effort to soften.
Step 2: Crease Transition (90 Seconds)
Pick up your transition shade on a fluffy blending brush. Tap off the excess — you want barely any product on the brush for a natural look.
Place the brush in your crease (the natural fold line above your lid) at the outer corner of your eye. Using a windshield-wiper motion, sweep back and forth from the outer corner to the center of your lid. Don’t go all the way to the inner corner — stopping at the center keeps the look open and lifted.
The natural look secret: One pass. Maybe two. The difference between a natural crease transition and an obvious one is product quantity. You want to see a subtle shadow in the crease — a gentle deepening that mimics the natural shadow your brow bone casts — not a visible stripe of brown.
If you can clearly see where the shadow starts and stops, you’ve applied too much. Blend what’s there with a clean section of the brush using upward strokes toward the brow bone.
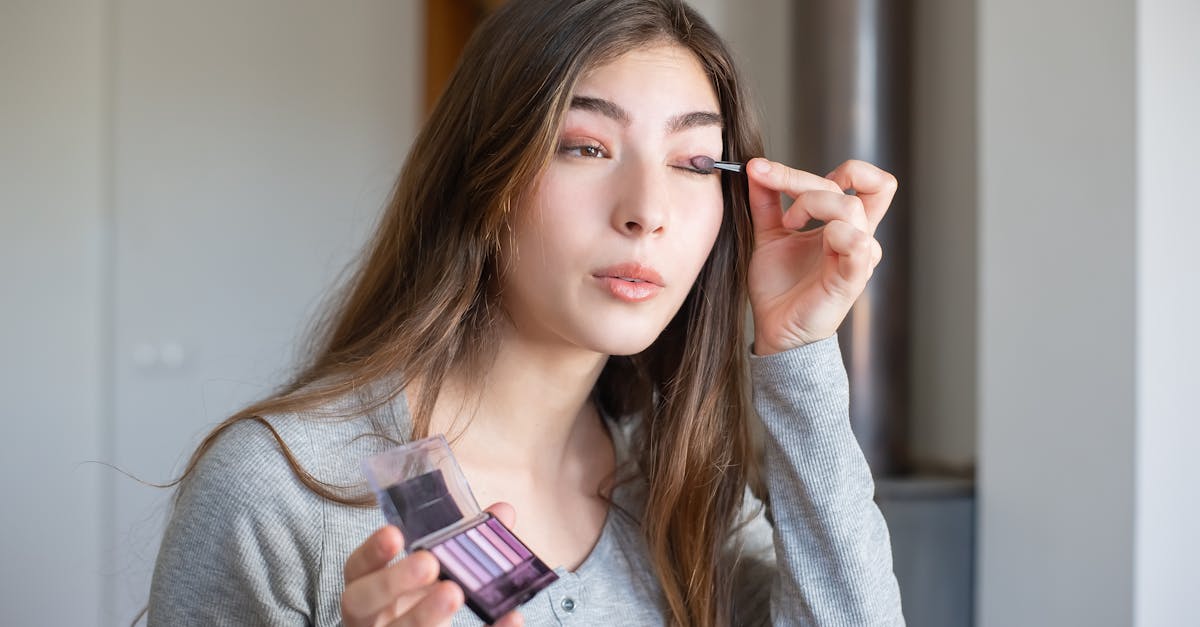
Step 3: Lid Shimmer (60 Seconds)
This is the step that transforms the look from “did she do anything?” to “her eyes look really nice.” Press your shimmer shade onto the center of your mobile lid — the flat area between your lash line and your crease — using a flat brush or your fingertip.
Pat, don’t swipe. Patting deposits more shimmer with fewer particles falling off. A single, well-placed pat of champagne or rose gold on the center lid catches light and adds dimension that reads as naturally luminous rather than glittery.
Extend the shimmer slightly toward the inner corner of your eye, fading it out before reaching the inner corner itself. This creates a subtle light gradient that opens up the eye.
Choosing Your Shimmer by Skin Tone
- Fair skin: Champagne, pink pearl, or light gold
- Light-medium skin: Rose gold, soft peach shimmer, warm gold
- Medium skin: Gold, copper, or warm bronze
- Medium-deep skin: Rich gold, bronze, or warm amber
- Deep skin: Copper, rich bronze, or warm champagne
The right shimmer for a natural look matches the warmth of your skin — it should enhance, not contrast.
Step 4: Lower Lash Line (30 Seconds — Optional but Worth It)
Take whatever’s left on your blending brush from the crease step (don’t add more product) and sweep it along the outer third of your lower lash line. This is a barely-there application that adds subtle definition and connects the upper and lower eye into one cohesive look.
Don’t go past the outer third. Bringing the shadow along the entire lower lash line reads as smokey rather than natural. The outer third adds just enough shadow to frame the eye without looking obviously made-up.
Step 5: Clean Up and Highlight (30 Seconds)
Use a clean section of your fluffy brush to sweep any fallout from under the eye. Then, if you want an extra 10-second upgrade, press a tiny amount of your shimmer shade (or your matte base shade) directly under the highest point of your eyebrow arch. This subtle highlight lifts the brow area and makes the whole eye look more structured.
The Whole Process in Real Time
| Step | Action | Time |
|---|---|---|
| 1 | Prime + base shade | 30 sec |
| 2 | Crease transition | 90 sec |
| 3 | Lid shimmer | 60 sec |
| 4 | Lower lash line | 30 sec |
| 5 | Clean up + highlight | 30 sec |
| Total | ~4 min |
With practice, this drops to 3 minutes. The routine becomes muscle memory after a week.
Making It Last All Day
A five-minute look that creases by noon defeats the purpose. Three habits keep this natural look intact through a full day:
- Always use primer. Even a thin layer adds 4+ hours of wear. The five seconds it takes to apply it saves you a midday mirror check and touch-up.
- Use pressed powder formulas, not cream shadows. Cream shadows are fine for other looks, but for all-day natural wear, pressed powder gives you the best crease resistance, especially in the warmer months.
- Set your under-eye concealer before applying lower lash line shadow. Shadow over tacky concealer migrates. Shadow over set, powdered concealer stays put.
Variations on the Same Method
The One-Shade Version (60 Seconds)
Skip the crease entirely. Prime your lid and press a single wash of champagne shimmer across the entire mobile lid. This is the minimum viable natural eye look, and it works surprisingly well when paired with mascara and groomed brows.
The Matte-Only Version
Replace the shimmer lid shade with a slightly lighter matte than your transition shade. This creates a completely matte look that’s especially effective in professional settings where shimmer might feel too casual. The look reads as “naturally defined” without any visible sparkle.
The Warm-Toned Version
Swap your neutral transition shade for a soft terracotta or warm peach. Replace your shimmer with a warm gold. Same steps, same placement, but with a sun-kissed warmth that’s especially flattering in spring and summer.
The Cool-Toned Version
Use a soft mauve or cool taupe in the crease and a silver-pink shimmer on the lid. This variation complements cool-toned skin and blue or green eyes particularly well.
The Mindset Shift That Makes Natural Looks Work
The hardest part of a natural eye look isn’t technique — it’s restraint. After watching tutorials with dramatic transformations, a three-shade eye look can feel like you haven’t done anything. But the goal of an everyday look isn’t transformation. It’s enhancement.
When you check the finished result and think, “I can barely tell I’m wearing eyeshadow,” you’ve actually nailed it. Other people will see the subtle dimension, the light-catching shimmer, the gentle definition in your crease. They just won’t be able to pinpoint that it’s makeup. That’s the entire point.
Get weekly eye care & beauty tips
Expert-researched guides delivered to your inbox. No spam, ever.
Frequently Asked Questions
How many eyeshadow shades do I need for a natural everyday look?
Three is the ideal number: a base shade close to your skin tone, a transition shade slightly deeper for the crease, and a shimmer or satin for the center lid. Two shades can work if the transition shade is close enough to your skin tone to double as a base. One shade works too — a single wash of a skin-tone shimmer creates a polished, 60-second look.
What is the best eyeshadow color for a natural look?
Warm taupes, soft peaches, and muted mauves work on the widest range of skin tones for a natural look. The key is choosing shades within 2-3 shades of your natural skin color. Avoid anything that creates a stark contrast with your skin — if the shadow is immediately obvious, it reads as 'makeup' rather than 'enhanced.' Think 'your eyelids but slightly better.'
Should I use primer for an everyday natural look?
Yes, even for a minimal look. Primer adds 4-6 hours of wear time and prevents the midday crease that makes natural looks go from 'polished' to 'messy.' You don't need a thick layer — a thin sweep from lash line to crease is enough. It takes 10 extra seconds and makes a meaningful difference.
Can I skip eyeshadow and just use concealer on my lids?
Concealer on the lids creates an even base and can look polished on its own, but it doesn't add any dimension. For a truly natural look, even a single shade of skin-tone shimmer over concealer adds a subtle glow that makes the eyes look awake and defined without looking 'done up.' The difference between bare lids and one wash of shimmer is surprisingly noticeable.