Graphic eyeliner used to live exclusively on runways and editorial shoots. In 2026, it’s become one of the most popular eye makeup trends for everyday wear, and the looks are more approachable than you might expect.
The shift happened because the definition of graphic eyeliner expanded. It’s no longer just about thick, perfectly symmetrical wings that require an engineering degree to apply. Now it includes floating lines, intentionally imperfect shapes, and minimal designs that take less than two minutes.
Here are the looks worth trying, ranked from easiest to most advanced.
1. Floating Liner
Difficulty: Easy | Best for: Hooded eyes, monolid, all eye shapes
Floating liner swaps the traditional lash line placement for a line that sits above your crease. The result is modern, slightly futuristic, and extremely flattering for hooded eyes because the line remains visible when your eyes are open.
How to do it:
- Look straight into your mirror with your eyes open
- Identify where your natural crease sits
- Using a fine-tip liquid liner, draw a thin line about 2mm above that crease, following its natural curve
- Extend the line slightly beyond the outer corner into a subtle flick
- Keep the rest of your lid bare or apply a sheer wash of shadow
The beauty of floating liner is that it looks intentional even if the line isn’t perfectly straight. A slight wobble reads as artistic rather than sloppy.
2. Inner Eye Flick
Difficulty: Easy | Best for: All eye shapes
This is probably the most wearable graphic liner look. Instead of the traditional outer wing, you add a small upward flick from the inner corner of your eye.
How to do it:
- Start at the inner corner of your eye where your lash line begins
- Draw a tiny flick angled slightly upward (about 3 to 4 millimeters long)
- You can wear this alone for a subtle effect or pair it with a classic wing on the outer corner
It opens up the eye instantly and looks interesting without requiring any advanced technique.
3. Double Wings
Difficulty: Medium | Best for: Almond, round, and upturned eyes
Two wings instead of one, one extending from your upper lash line and one mirrored below from your lower lash line.
How to do it:
- Draw your regular winged liner on your upper lash line
- From the outer corner of your lower lash line, draw a second smaller wing that angles downward and away, running parallel to the upper wing
- Leave a small gap between the two wings for that negative space effect
- Clean up any mistakes with a pointed cotton swab dipped in micellar water
4. Negative Space Wings
Difficulty: Medium | Best for: Anyone who wants a modern twist on the classic wing
This look plays with leaving bare skin within the liner design. Instead of filling in a full wing, you outline the shape and leave the center empty.
How to do it:
- Start with a traditional wing shape from your outer corner
- Instead of filling it in completely, only draw the outline
- The bare skin in the center creates a cool cutout effect
- You can fill the empty space with a contrasting eyeshadow color for extra drama
5. Reverse Liner
Difficulty: Medium | Best for: Deep-set and large eyes
All the focus goes to the lower lash line while the upper lid stays minimal or bare.
How to do it:
- Line your lower lash line with black, brown, or colored liner
- Smudge slightly with a small brush for a lived-in effect
- Leave the upper lid clean, no liner, just mascara
- This creates a grunge-inspired look that’s big in 2026
6. Geometric Shapes
Difficulty: Advanced | Best for: Monolid eyes and editorial looks
Triangles, arrows, or angular lines that transform your eyelid into a canvas.
How to do it:
- Sketch the design first with a light pencil so you can wipe it away if needed
- Use a fine-tip liquid liner to trace over your sketch
- Work in small, controlled strokes rather than long sweeping lines
- Geometric shapes look especially striking on monolid eyes because the flat lid surface gives you a larger canvas
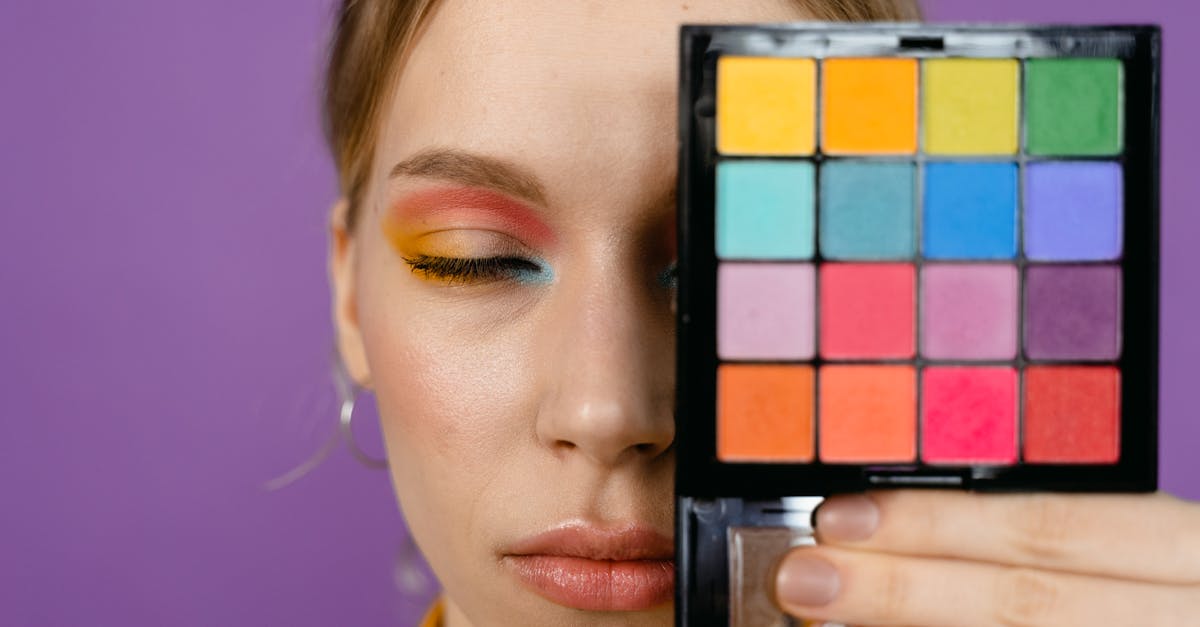
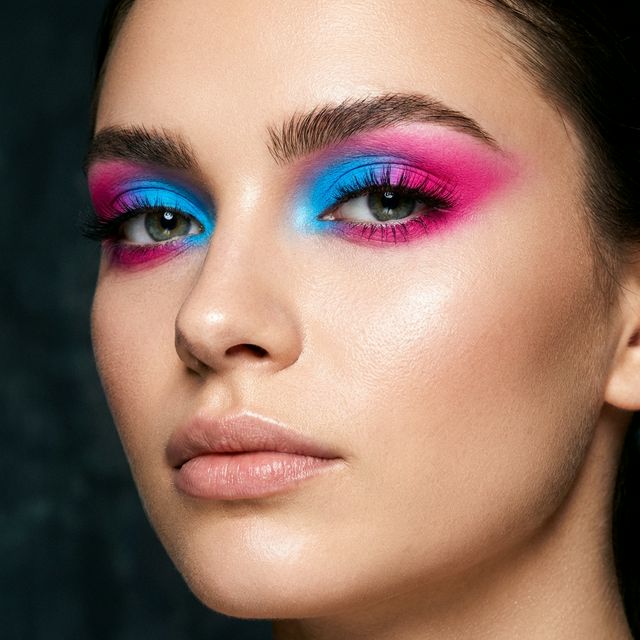
7. Colored Graphic Liner
Difficulty: Varies | Best for: Anyone feeling bold
Take any of the above looks and execute them in a non-traditional color. Neon green, electric blue, or hot pink liner turns a simple floating line into a statement piece.
How to do it:
- Pick a liquid liner in a vibrant shade
- Apply any of the looks above in your chosen color
- Keep eyeshadow and mascara neutral to let the colored liner be the star
- Try pairing complementary colors, blue liner with warm orange-toned shadow, for example
Watch and Learn
🎥 Search YouTube: Graphic eyeliner tutorialsQuick Reference: Which Look to Try First
| Your Eye Shape | Best Starting Look |
|---|---|
| Hooded eyes | Floating liner |
| Monolid | Geometric shapes |
| Round eyes | Double wings |
| Almond eyes | Negative space wing |
| Deep-set eyes | Reverse liner |
| Any shape | Inner eye flick |
Tips That Apply to Every Graphic Liner Look
- Always prime your lids, graphic liner on unprimed skin slides and smudges within hours
- Use tape as a guide, place a small piece of tape at the angle you want your wing and remove it after the liner dries
- Let each section dry before adding more elements to prevent smudging
- Clean up with micellar water on a pointed cotton swab for crisp edges
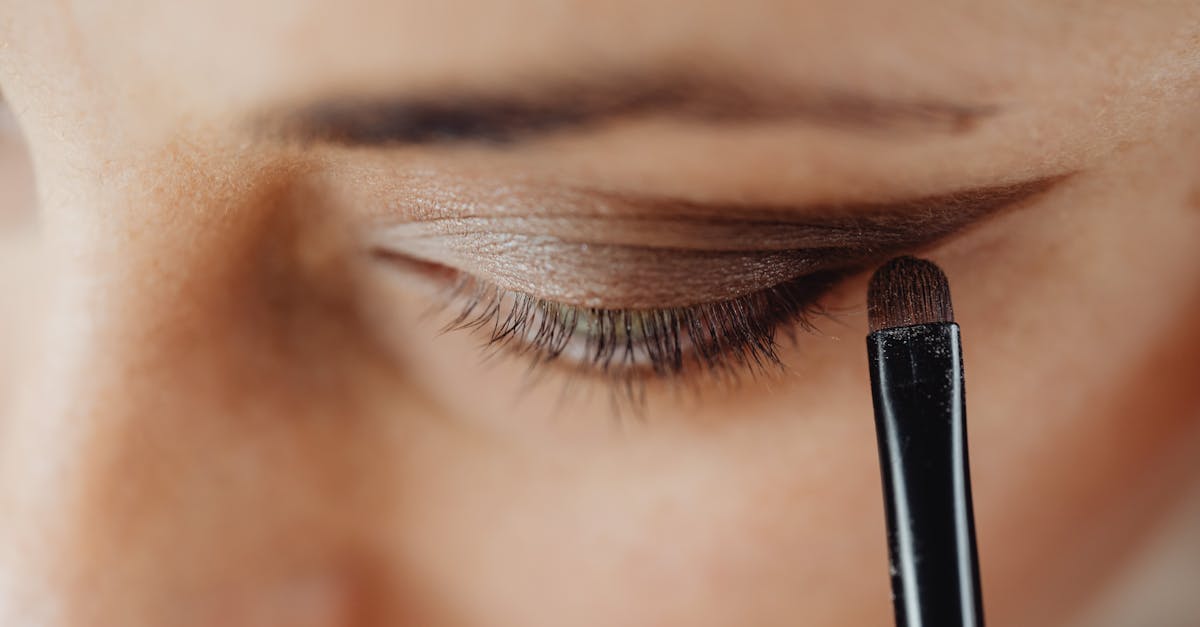
- Start with pencil before committing with liquid liner, it’s much easier to correct
Building Your Graphic Liner Kit
You don’t need a huge collection to do graphic eyeliner well. Here’s a practical starter kit:
- One black felt-tip liquid liner with a fine point for precision work. NYX Epic Ink Liner or Stila Stay All Day are reliable and widely available at around $10 to $12.
- One colored liquid liner for experimenting. Start with a shade you already love wearing, blue, green, or burgundy are good first picks.
- A kohl pencil in black for sketching designs before committing with liquid. Pencil is forgiving and easy to remove.
- Micellar water and pointed cotton swabs for cleanup. These are more important than most people realize, clean edges make or break graphic liner.
- Small pieces of tape for straight lines and angles when you’re still building confidence.
As you get more comfortable, you can expand into gel liners (which offer a softer, more blendable line), colored gel pots with angled brushes, and eventually water-activated or cake liners that offer the most intense pigment for dramatic designs.
Frequently Asked Questions
Sources
- Bobbi Brown. (2019). Bobbi Brown Makeup Manual. Grand Central.
- Vogue. (2025). “Graphic Eyeliner Trends Dominating the Runways.” vogue.com.
- Dazed Digital, Graphic liner trend documentation, avant-garde liner techniques (2024–2025)
Related Guides
- Eye Makeup Trends 2026: What’s In and What’s Out
- Neon Eyeshadow Looks: Bold, Bright, and Totally Wearable
- Smokey Eye Tutorial for Beginners
- Cyber Sigilism & Retro-Futuristic Liner: The 2026 Graphic Eye Trend
- Statement Lashes & White Mascara: The 2026 Lash Trend
- Best Eyeliners of 2026: Every Type Tested
Get weekly eye care & beauty tips
Expert-researched guides delivered to your inbox. No spam, ever.
Frequently Asked Questions
Is graphic eyeliner hard for beginners?
Some designs are surprisingly simple. Start with a basic floating liner, just one clean line above your crease. Use a kohl pencil to sketch the shape first, then trace over it with liquid liner. Simple designs like inner corner flicks or double wings are also beginner-friendly.
What eyeliner works best for graphic looks?
A fine-tip liquid liner gives you the most control. Felt-tip pens like [NYX Epic Ink Liner](https://www.amazon.com/dp/B07541CVCN?tag=fuzzylogic06-20) or [Stila Stay All Day](https://www.amazon.com/dp/B004EOLV0K?tag=fuzzylogic06-20) are reliable options. For softer, smudged graphic looks, a kohl pencil or gel liner with an angled brush works well.
Does graphic eyeliner look good on hooded eyes?
Yes, and techniques like the floating liner were practically designed for hooded eyes. Because the line sits above the natural crease, it stays visible when your eyes are open, something traditional liner can't always achieve.
How do I make graphic eyeliner last all day?
Prime your lids first, use a waterproof or quick-drying formula, and set the liner with a matching eyeshadow. Apply in thin layers and let each layer dry before adding more. Finish with setting spray.