The cut crease is one of those techniques that looks impossibly complex but follows a straightforward logic once you understand what’s actually happening: you’re creating a visible dividing line between your crease and your lid, then using concealer to sharpen that line into something dramatic.
It works on every eye shape, but the placement changes depending on your anatomy. Here’s how to approach it based on your eyes.
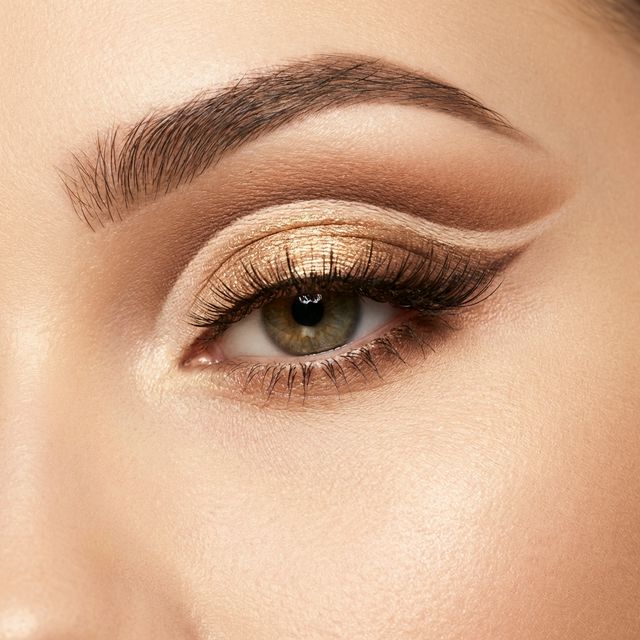
What a Cut Crease Actually Does
In most eye looks, your eyeshadow transitions gradually from light on the lid to dark in the crease. A cut crease interrupts that transition with a hard line. You get a clear boundary between two colors or textures.
The result: your eyes appear bigger, more defined, and the lid color pops against the darker crease above it. It’s one of the most impactful techniques in eye makeup.
What You’ll Need
- Eye primer
- A transition shade (matte brown one or two shades darker than your skin)
- A deeper crease shade
- Full-coverage concealer
- A flat brush (small and firm)
- A blending brush (fluffy)
- The lid color of your choice
- Mascara
Full Cut Crease: Step by Step
Step 1: Prime and Set
Apply eye primer across your entire lid and set it with a light dusting of translucent powder. This prevents your concealer and shadows from sliding around.
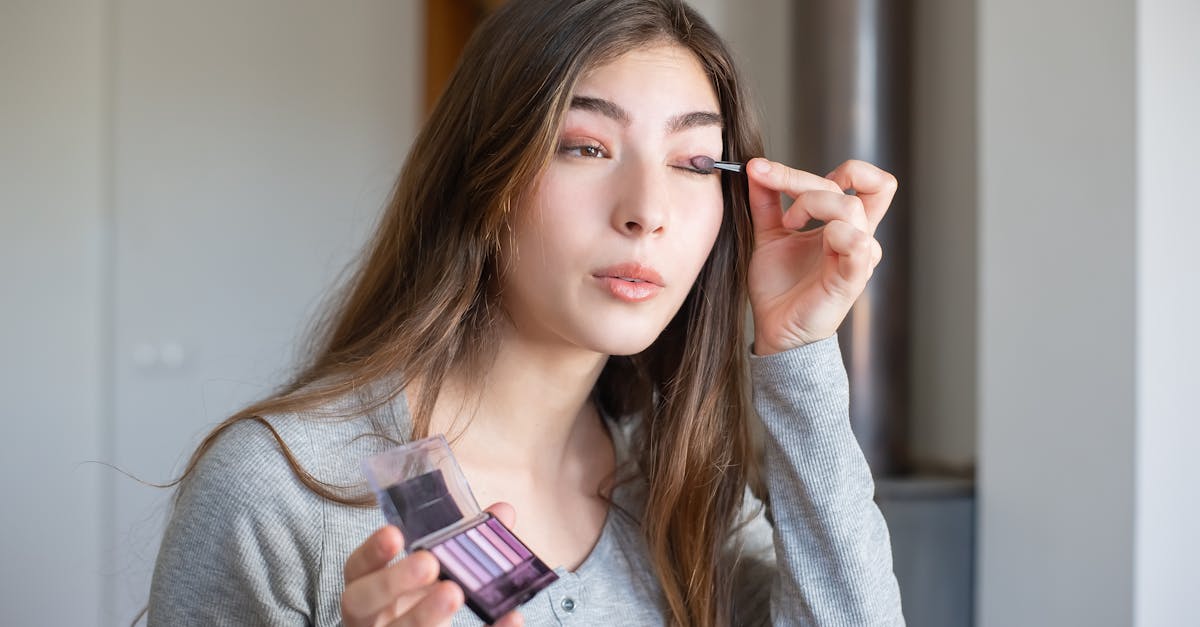
Step 2: Apply Your Transition Shade
Using a fluffy blending brush, sweep your transition shade (a warm matte brown works universally) into the crease. Blend it back and forth in windshield-wiper motions.
For hooded eyes: Keep your eyes open while blending. Apply the transition shade above your natural fold, this is where your “new” crease line will sit.
Step 3: Deepen the Crease
Layer a slightly deeper shade into the outer corner and crease, focusing on the outer third. Blend it to create a gradient that’s darkest at the outer V and lightest toward the inner corner.
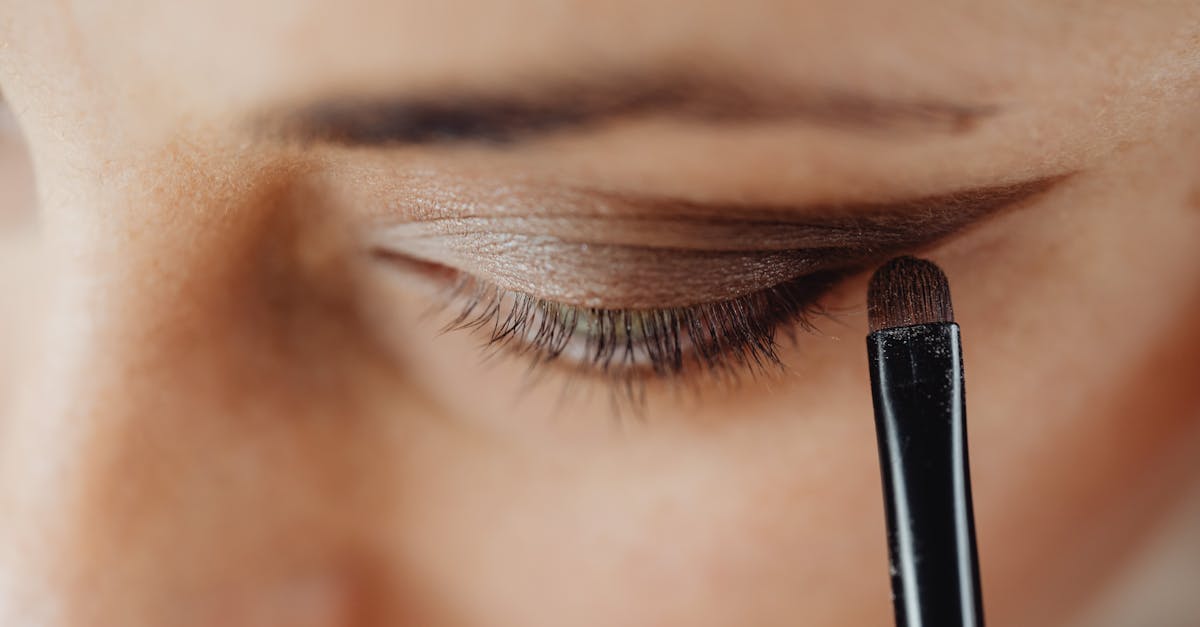
Step 4: Cut with Concealer
This is the defining step.
- Load a flat, firm brush with full-coverage concealer
- Place it along your crease line and draw a clean arc from the inner corner toward the outer corner
- Follow your natural crease line (or your adjusted higher crease for hooded eyes)
- The concealer creates a sharp boundary between the crease shadow above and the lid below
- Use small, precise strokes, start lower than you think and adjust upward
The key technique for hooded eyes: Apply some concealer to your lid, then look straight ahead into your mirror. Where the concealer transfers and meets your hood, that’s where your cut crease line should sit. Use that imprint as your guide.
Step 5: Blend the Upper Edge
Use a clean fluffy brush to softly blend the top edge of the concealer into your crease shadow. You want the bottom edge to stay sharp but the upper edge to transition naturally.
Step 6: Apply Your Lid Color
Pat your chosen lid color over the concealer area. Because concealer is an opaque base, any color you layer on top will show up more vibrantly.
- Shimmer shades pop dramatically over concealer
- Metallic or foil shadows are classic cut crease choices
- For a softer version, use a satin nude
Step 7: Define and Finish
- Apply eyeliner, keep the line thin to avoid obscuring your lid color
- Add mascara (wispy lashes let the eyeshadow show through)
- Highlight your brow bone for a lifted effect
Half Cut Crease Variation
If the full cut crease feels too dramatic, a half cut crease gives you the same dimensional effect with a softer result:
- Follow steps 1 through 3 as above
- Instead of cutting across the entire lid, apply concealer only to the inner two-thirds of your lid
- Let the outer third blend naturally into the crease
- This creates a gradient effect that’s more wearable for daytime
Cut Crease Adjustments by Eye Shape
| Eye Shape | Key Adjustment |
|---|---|
| Hooded eyes | Create cut crease above natural fold; apply with eyes open |
| Monolid | Place the cut higher and make the lid section wider |
| Deep-set eyes | Use a lighter transition shade; don’t overdeepen the crease |
| Round eyes | Angle the cut slightly upward at the outer corner for elongation |
| Almond eyes | Follow your natural crease, these are the easiest shape for cut creases |
| Downturned eyes | Lift the outer tip of the cut crease upward to counteract the downward angle |
Watch and Learn
🎥 Search YouTube: Cut crease tutorials for all eye shapesCommon Mistakes to Avoid
- Cutting too low, the concealer line should sit in or near your crease, not on the middle of your lid
- Using a dry concealer, if your concealer is too thick or dry, it won’t spread cleanly; use a creamy formula
- Blending both edges, only soften the upper edge; the lower edge should stay sharp
- Skipping primer, the concealer will crease and smudge without a primer base
- Heavy lashes obscuring the work, choose wispy or individual lashes so your cut crease remains visible
Product Recommendations for Cut Creases
The right products make this technique significantly easier. Here’s what works:
Concealers, You need full coverage that dries quickly without becoming cakey. Maybelline Instant Age Rewind (around $10) is a popular budget choice. LA Girl Pro Conceal ($5) offers excellent opacity. For a higher-end option, NARS Radiant Creamy Concealer ($32) blends smoothly and stays put.
Brushes, A flat, firm concealer brush is the most important tool. It needs to be small enough to follow the curve of your eye. The Sigma E15 Flat Definer or an equivalent flat brush with short, dense bristles gives you the control required for a clean line.
Eye Primers, P. Louise Rumour Base ($25) became famous specifically because of cut crease tutorials. Its tacky, opaque formula creates a strong grip for shadow. Urban Decay Primer Potion ($26) and Milani Eyeshadow Primer ($8) are solid alternatives.
Shadows, Warm-toned matte palettes are the foundation of most cut crease looks. Anastasia Beverly Hills Soft Glam, Morphe 35O, or ColourPop Going Coconuts all provide the transition and deepening shades you need. For the lid, any metallic or shimmer shade will work, gold, copper, and rose gold are classic starting points.
Frequently Asked Questions
Sources
- Morris, R. (2020). Eye Makeup Pro: Techniques for Every Eye Shape. Kyle Books.
- Makeup.com. (2025). “How to Do a Cut Crease, Step by Step.” makeup.com.
- Davis, Gretchen. The Makeup Artist Handbook. Focal Press, 2009, advanced crease technique documentation
Related Guides
Get weekly eye care & beauty tips
Expert-researched guides delivered to your inbox. No spam, ever.
Frequently Asked Questions
What is the difference between a half cut crease and a full cut crease?
A half cut crease applies concealer to just the inner half or center of the lid, keeping some transition shadow visible. A full cut crease covers the entire mobile lid with concealer for maximum contrast between the lid color and the crease. Full cut creases are more dramatic, half cut creases are more versatile for daily wear.
Why does my cut crease keep disappearing on hooded eyes?
Your natural crease line is swallowing the cut. The fix is to create your new crease line higher, above your natural fold. Keep your eyes open while applying the crease shadow so you can see exactly where it will sit when your eyes are in a natural position.
What concealer works best for cut creases?
You want a full-coverage, fast-drying concealer that won't crease or shift. Popular choices include [Maybelline Instant Age Rewind](https://www.amazon.com/dp/B00BGQQ0DG?tag=fuzzylogic06-20), LA Girl Pro Conceal, or NYX HD Photogenic. Choose a shade that matches your lid or go one shade lighter for a brightening effect.
Can beginners do a cut crease?
Yes, start with a half cut crease which is more forgiving. Use concealer on a flat brush to carve the line, apply lower than you think you need it, and gradually extend upward. The key is small steps, you can always add more product but it's harder to take it away.